A featured image represents your post or page and it is an important piece of content. It usually appears at the top of your blog post on the front end of your website.
In this guide, we are going to show you how to create, optimize and add a featured image or post thumbnail in WordPress.
Creating a Featured Image
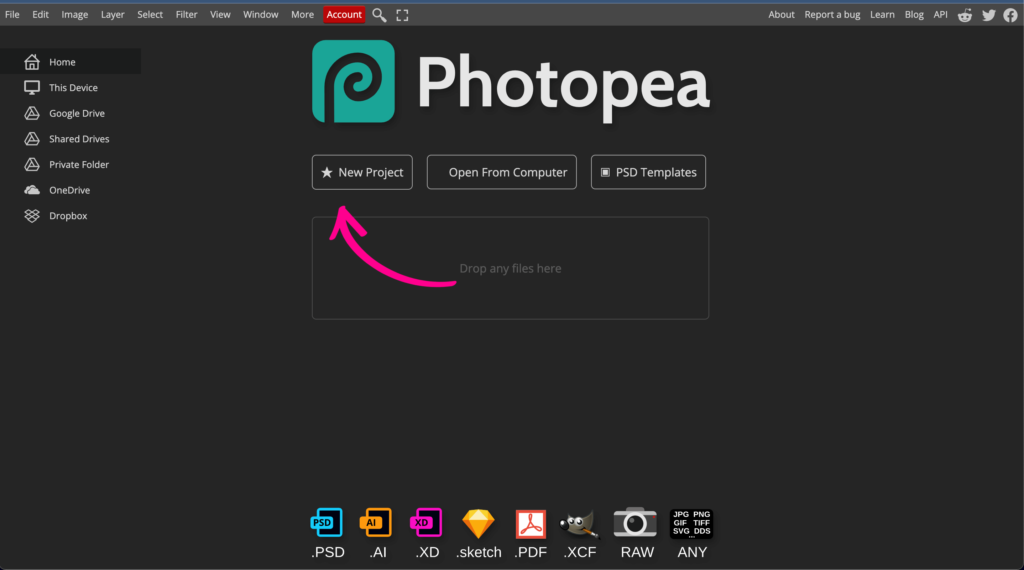
We’ll be using Photopea, a free web-based graphics editor that allows you to edit photos, apply effects, create filters, add text, and crop or resize pictures without leaving your browser.
Let’s navigate to photopea.com and click on the New Project button:
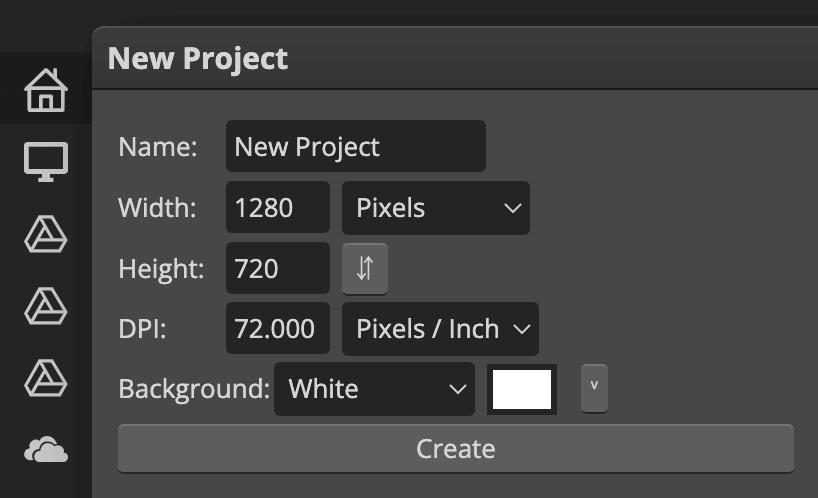
A new window will pop up. Here we can either choose a predefined template (if you are creating images for different media such as social, print, or mobile) or set custom project properties.
A good starting point for our featured image size is 1280x720px. Type 1280 under width and 720 under height, then click on create.
You’ll see the Photopea workplace with a new empty canvas, the top menu bar, and the toolbox bar with a set of tools on the left side of the screen. This toolbox bar contains various tools for making selections, cropping and retouching images, adding shapes and adding text, and many more!
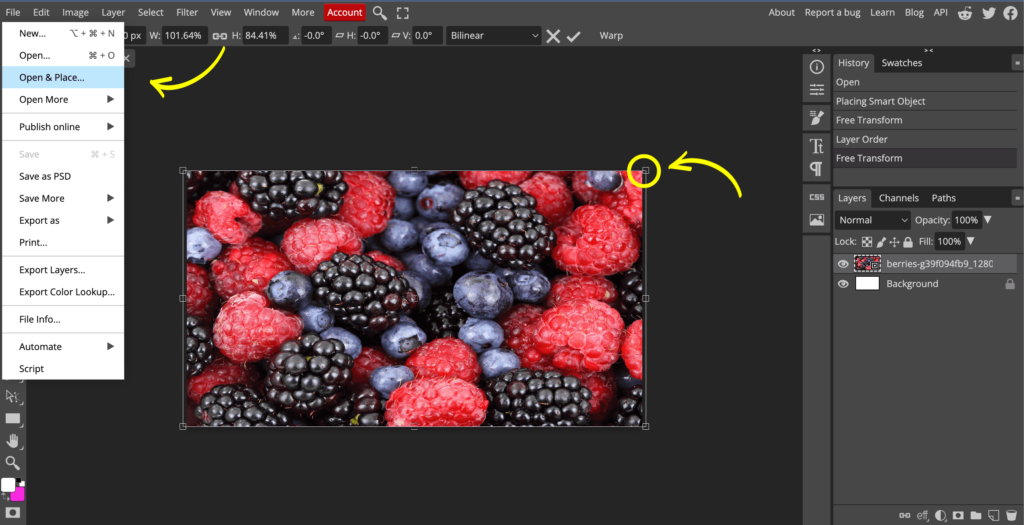
We are going to use a background image that we previously downloaded from Pixabay, which is a community platform that offers free stock photography and royalty-free stock media for your projects.
Click on File → Open & Place from the top menu bar and find and place your image. Use the transform controls to scale and move the images to fit the canvas.
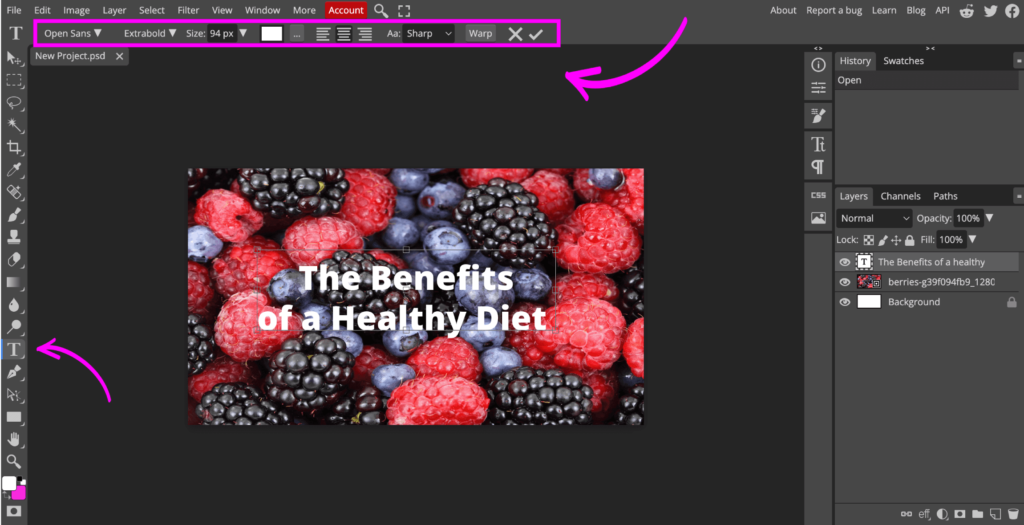
With a beautiful background image, it’s time to add some text. From the toolbox menu on the left, select the text icon, click on top of the image, and start typing your headline.
The new text looks small and difficult to read, but don’t worry, at the top of the canvas you’ll see the text settings. Here you can change the text size, font family, color, and alignment.
If the new headline is difficult to read, you can add a semi-transparent background to make it more readable. Let’s see how we can do that using Photopea:
First, select the shape tool from the toolbox, set the fill color to black, and remove any stroke color if applicable. Click and drag from one side towards the end of the canvas, find the opacity slider on the right of the screen, and adjust as needed.
The new shape layer is at the top of the layer stack and we need to move it below the text layer. Click and drag the shape layer below the text layer.
The new design looks much better!
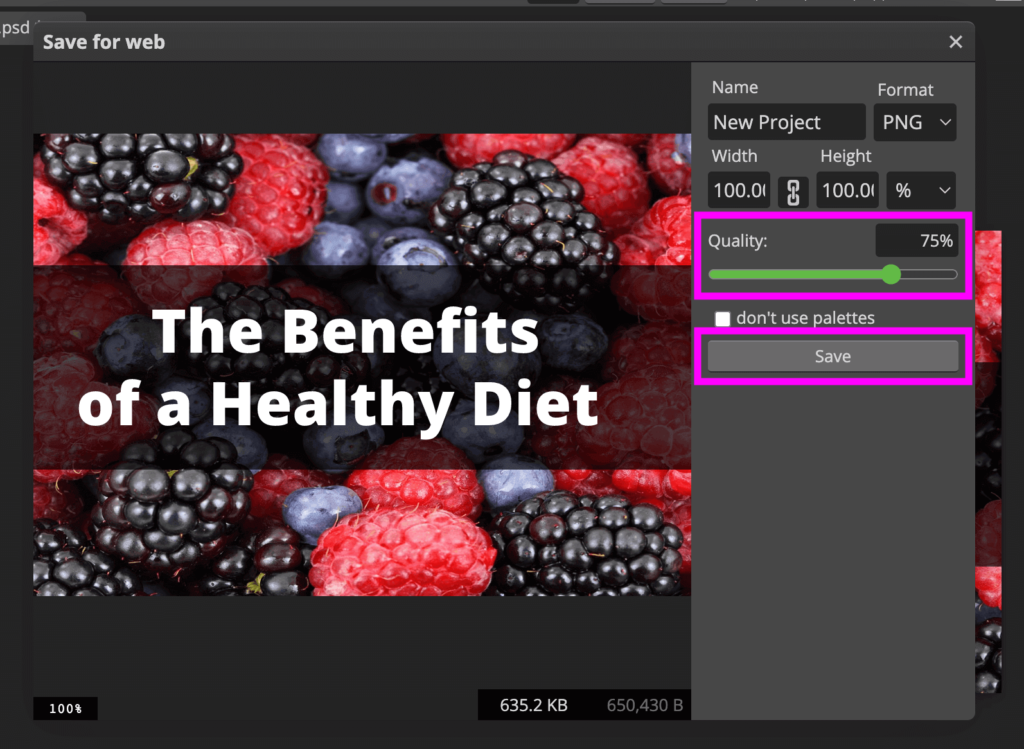
Once you are happy with your design, it’s time to download it from Photopea. To do that, click on File → Export As. You’ll see the different formats available such as png, jpeg, SVG, gif, etc. Select your preferred format and a new pop-up window will appear.
Here you can set different options, such as quality, width, and height. We recommend setting the quality value between 75% and 80%. This keeps the image size low and retains image quality at the same time.
Click on the Save option, which will save your design from Photopea to your local hard drive.
Optimizing Your Featured Image
You have been doing a great job designing the new featured image, but now we need to optimize it and make it web-ready. Search engines love performance and as such, we need to make sure our images and media assets are perfectly compressed.
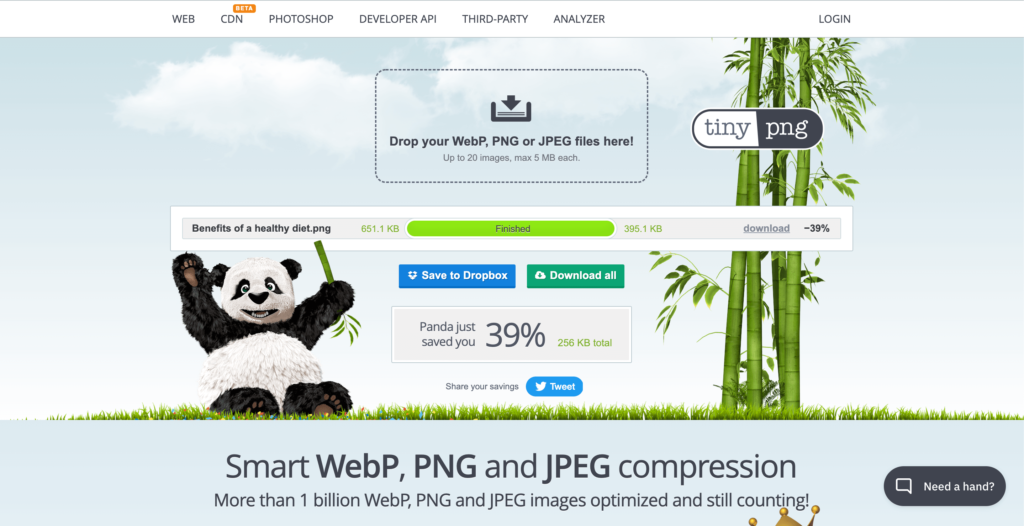
In this guide, we are going to use TinyPNG which is a popular website to compress images by reducing the file size. TinyPNG is also available in WordPress plugin’s repository and once you’ve installed it, it will automatically optimize new images upon upload.
Go ahead and open https://tinypng.com/ in a new tab and drop your newly created design into the box found in the middle of the page and wait until TinyPNG has finished optimizing your image.
That’s it! Now click on the download link and you’ll have a perfectly optimized image ready for your WordPress post.
Adding a Featured Image in WordPress
Congratulations! This is the last step needed to make our new image live.
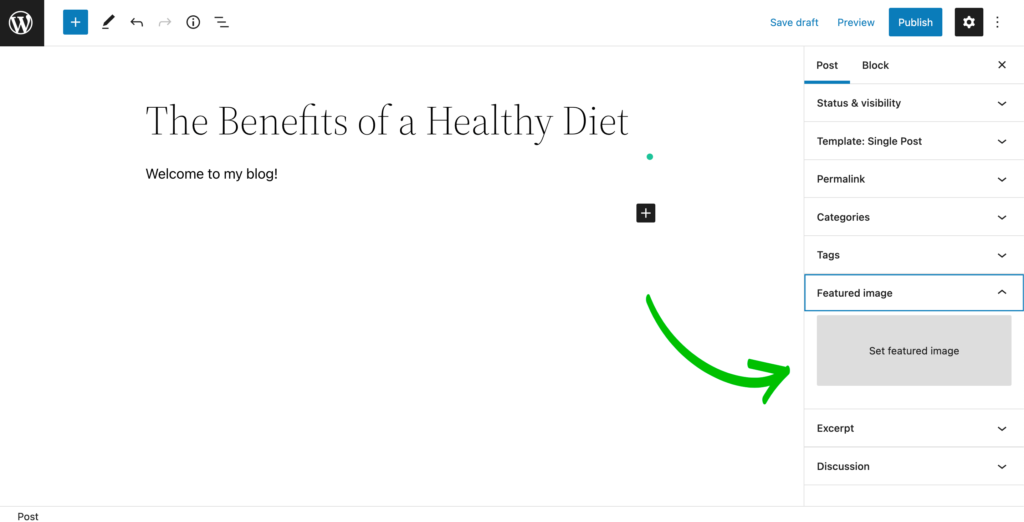
Let’s edit our existing WordPress post and find the featured image option on the right sidebar of the WordPress workspace. If this is your first time working with a post in WordPress, we recommend that you read our step-by-step article about adding a new blog post in WordPress.
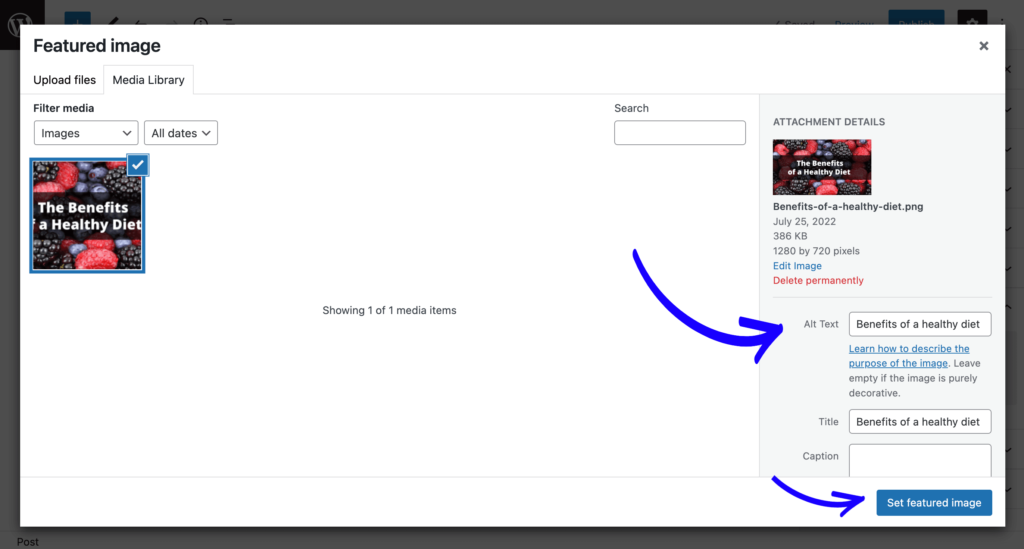
Select your optimized image from your local hard drive and after WordPress uploads the file it will be available on the WordPress media page.
Set the alt text and click on the Set Featured Image button. Don’t forget to save your changes by clicking on the Update option at the top of the WordPress workspace.
That’s all! We hope this article helped you understand how to create, optimize and add a new featured image in WordPress.
If you liked this article, then please follow us on Twitter and Facebook.