Adding content to your WordPress website can feel overwhelming at first, but the process is straightforward once you’ve done it once. In this step-by-step guide, you’ll learn how to add a post using the WordPress block editor — including titles, content blocks, categories, tags, and featured images.
Posts vs. pages: what’s the difference?
- Posts are blog content — articles, news, tutorials. They’re organized by categories and tags, listed in reverse chronological order, and appear in your blog feed and RSS.
- Pages are static, timeless content — your About page, Contact page, Privacy Policy. They don’t use categories or tags and aren’t part of the blog feed.
This guide covers posts.
The block editor workspace
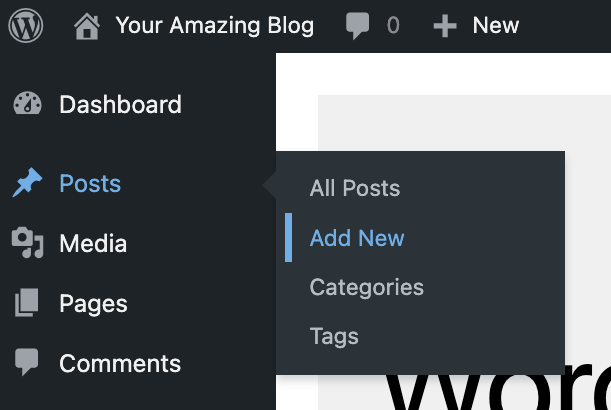
Go to Posts → Add New. You’ll see the block editor, where every piece of content is a movable block — paragraphs, headings, images, lists, buttons, and more. The workspace has four main areas:
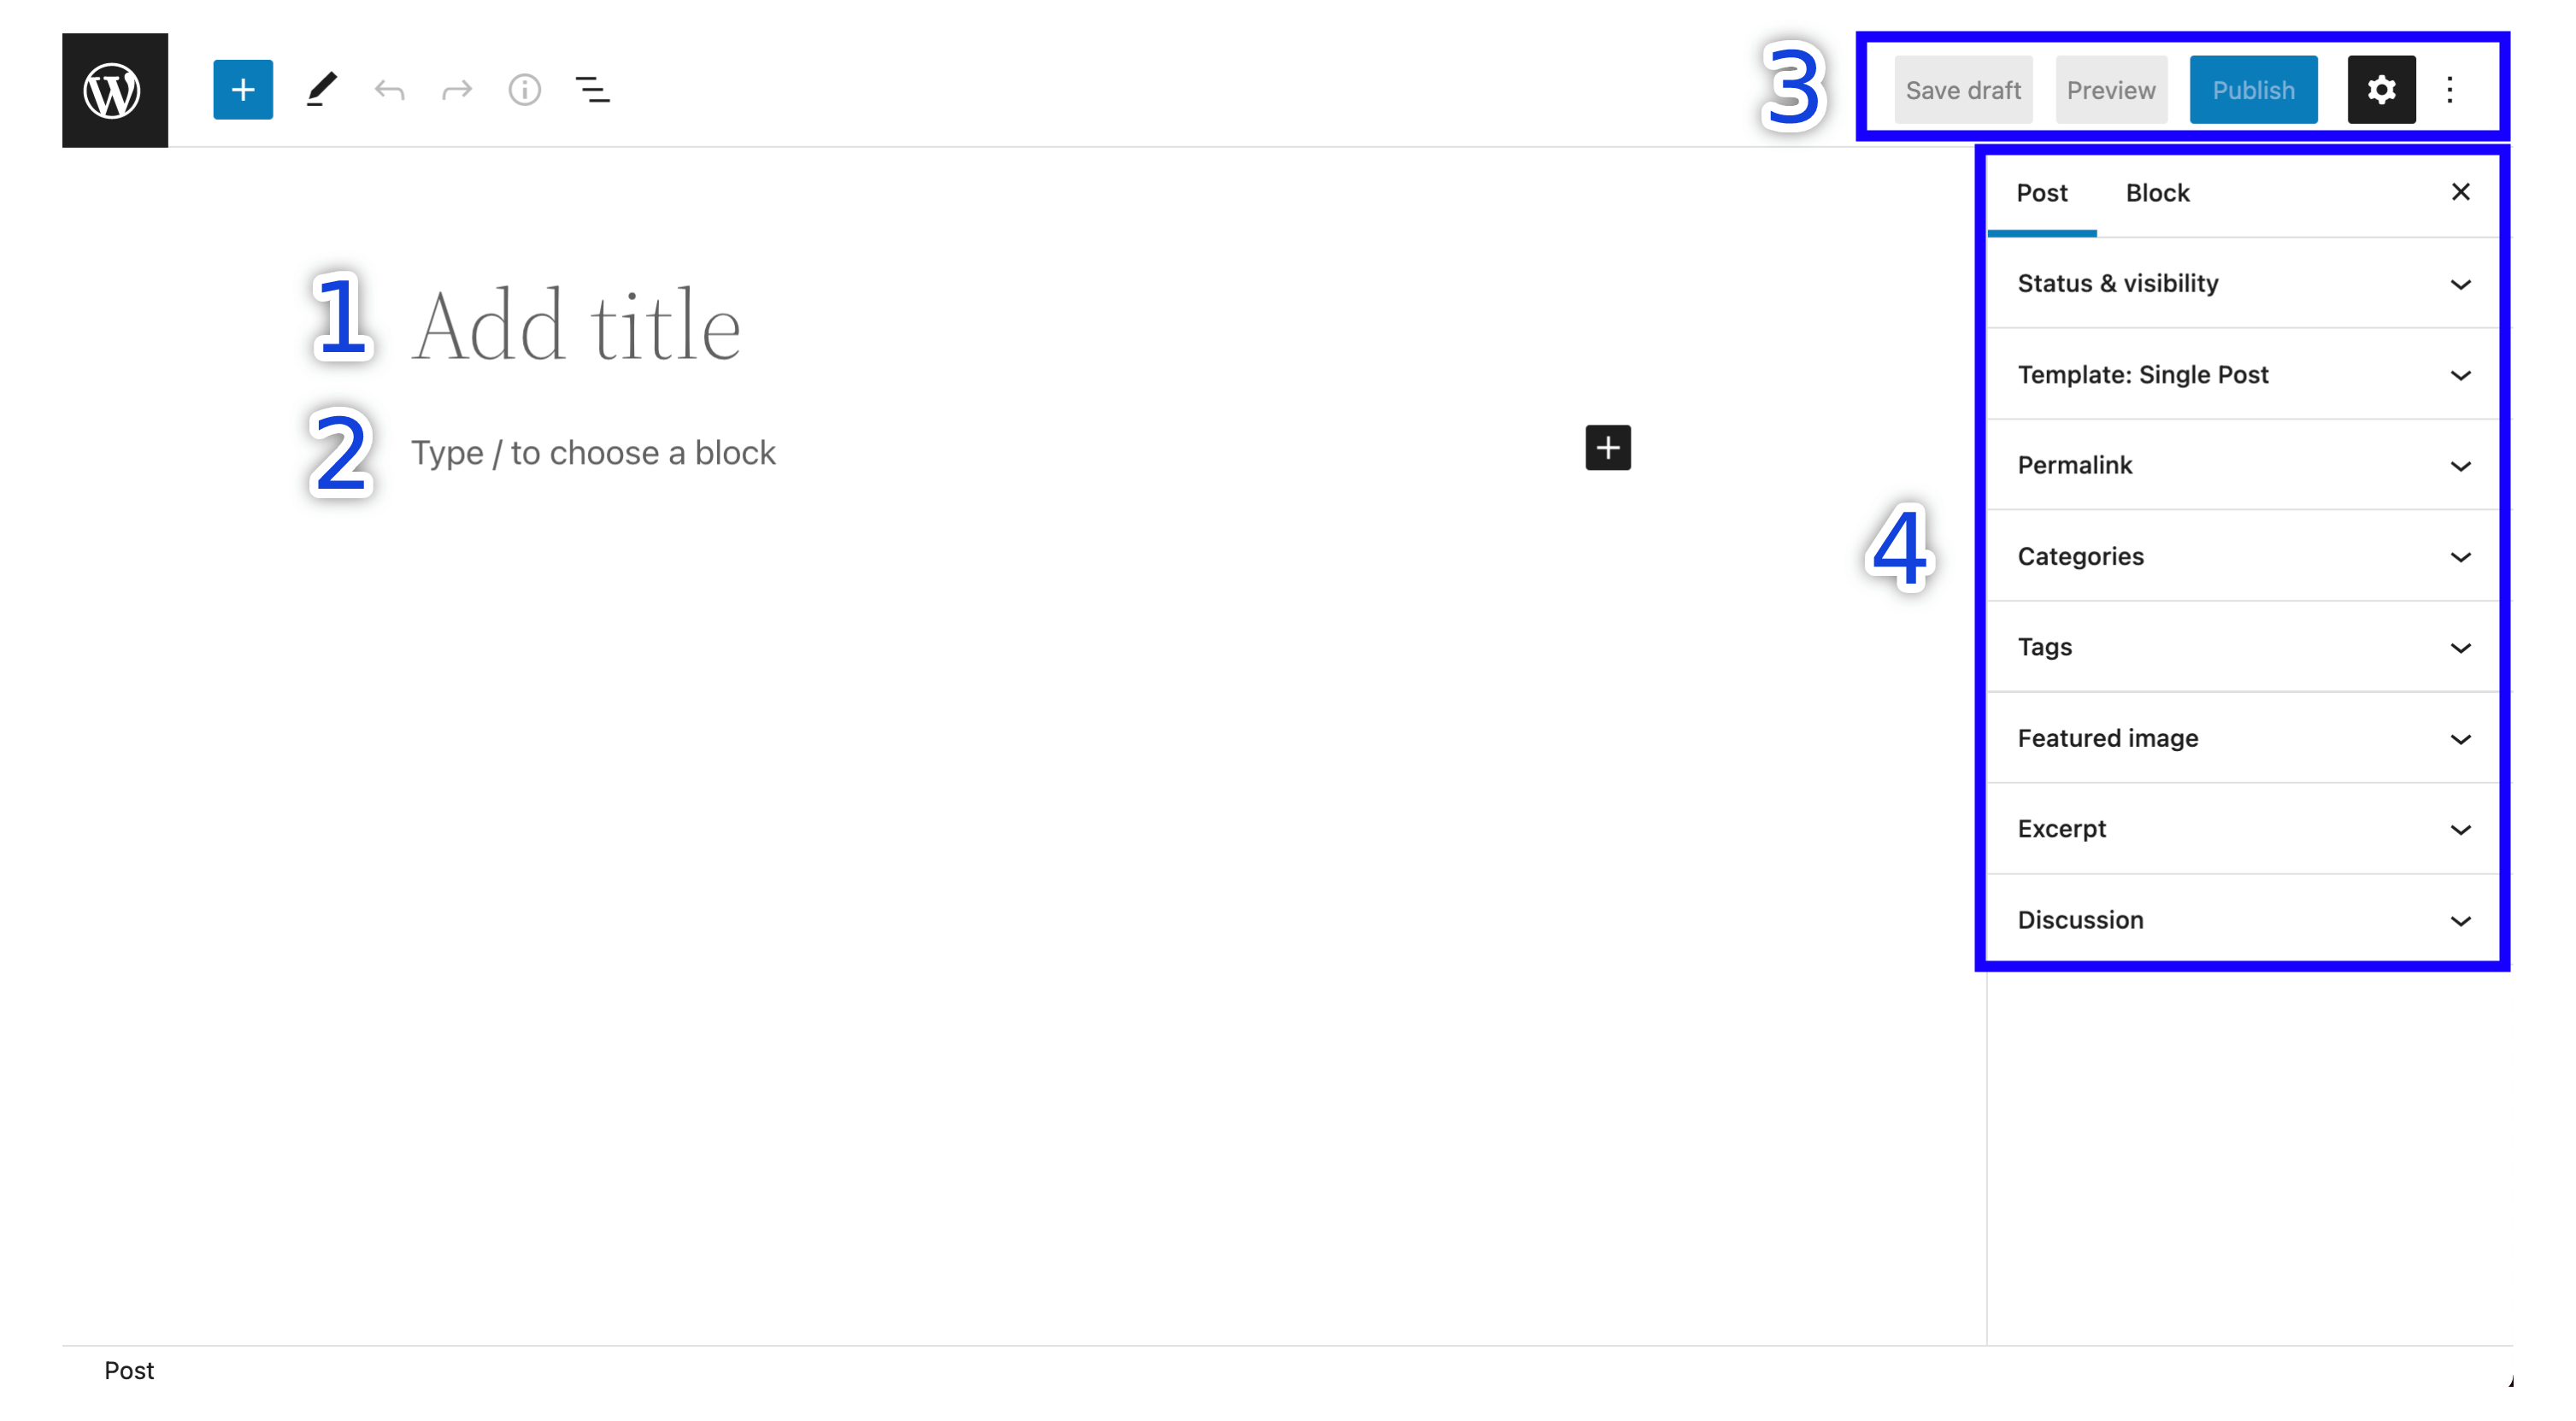
1. Post title
The headline at the top. Write something clear and descriptive — it’s also what appears in search results and browser tabs, so include the words people would search for.
2. Post content
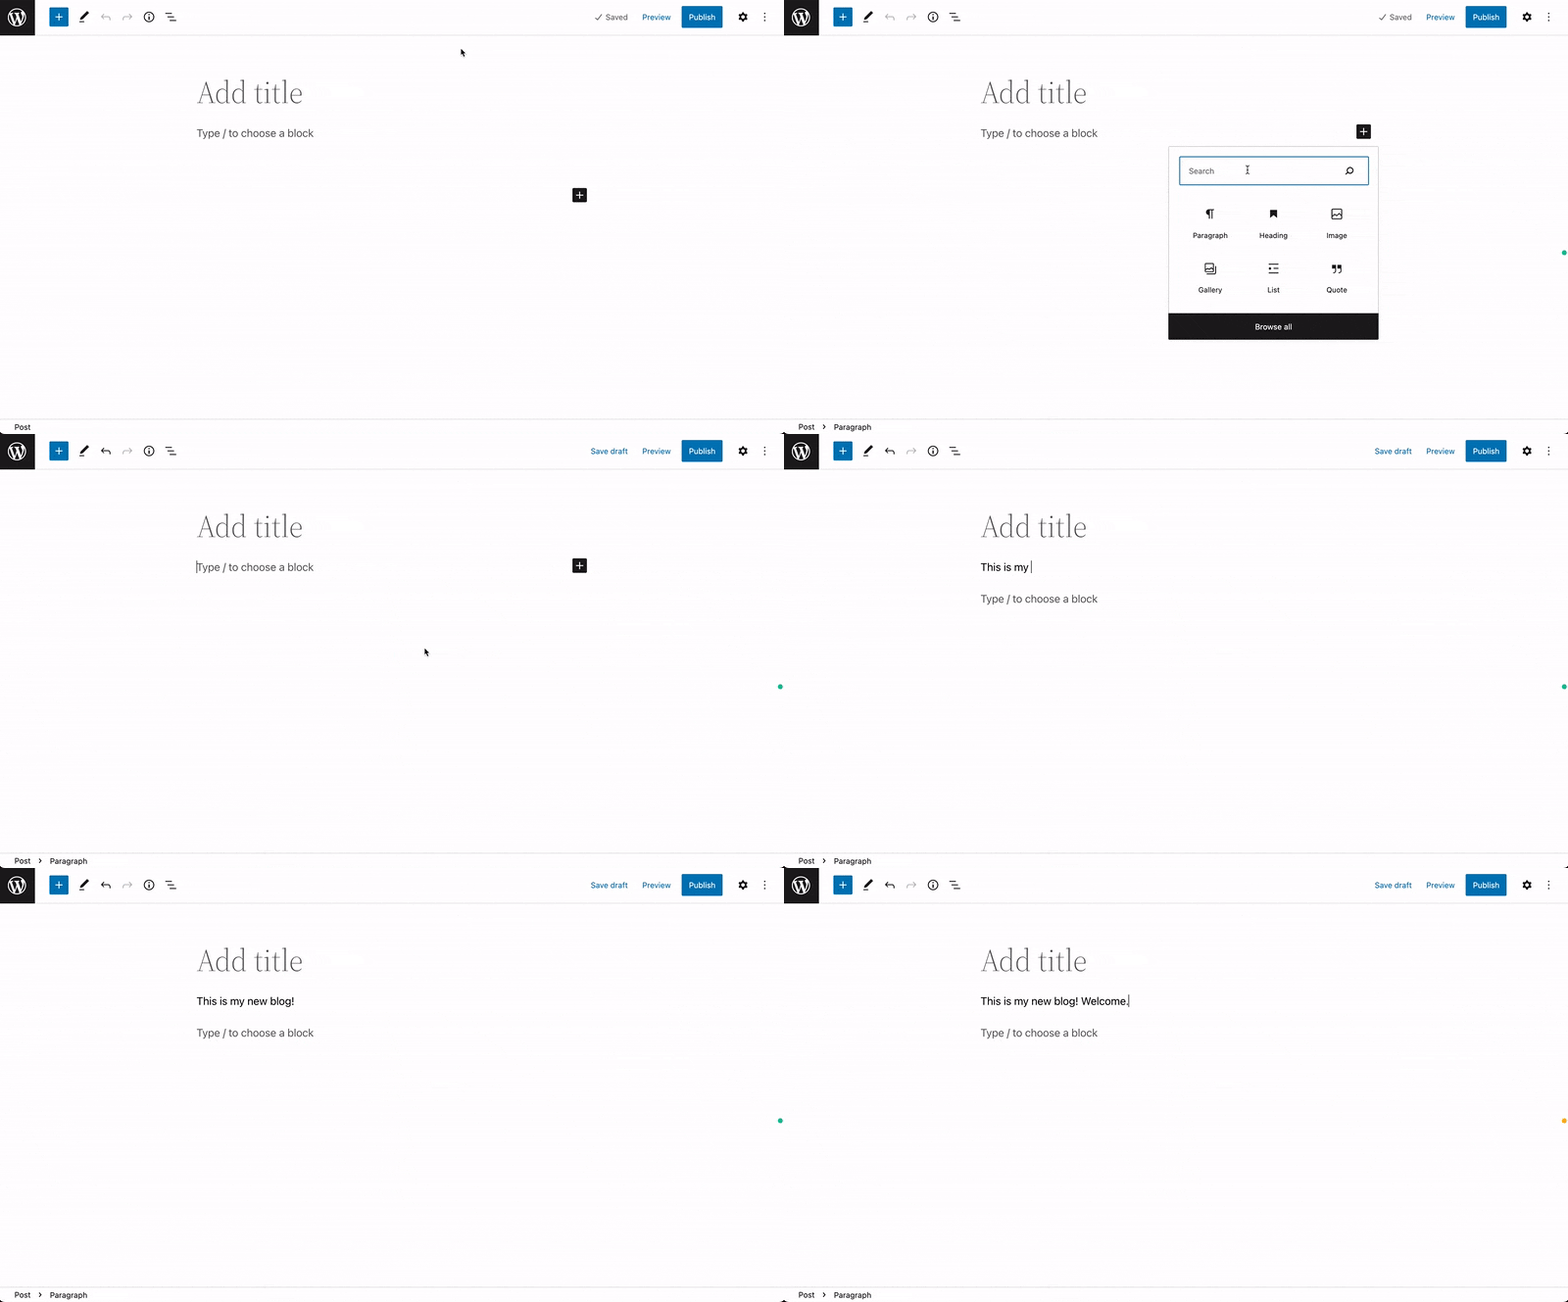
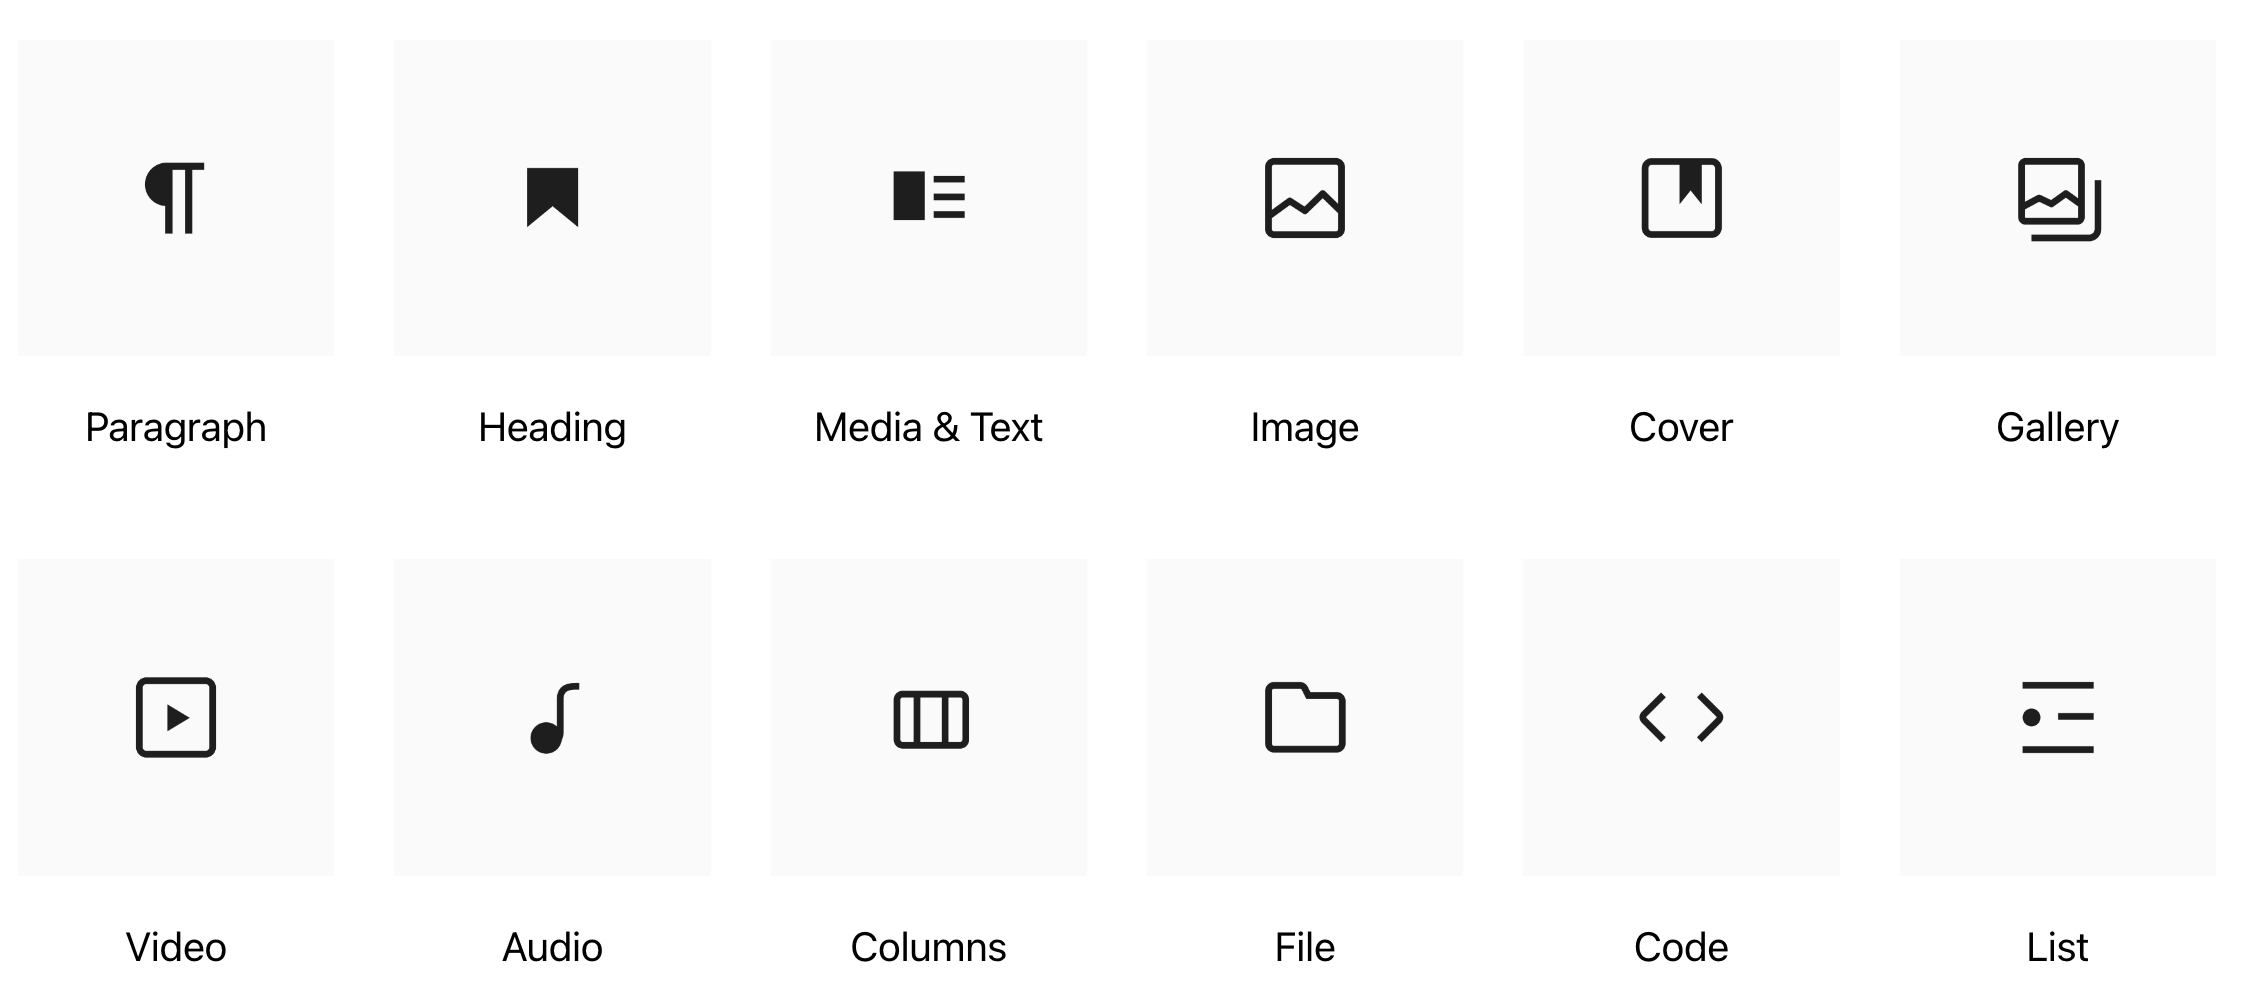
The main area where you build your article block by block. Click the + button to add a block: start with Paragraph and Heading blocks, then explore Image, List, Quote, and Button blocks as you need them.
3. Top toolbar
- Save draft — save without publishing.
- Preview — see how the post looks on your live site.
- Publish — make it public.
4. Settings sidebar (right)
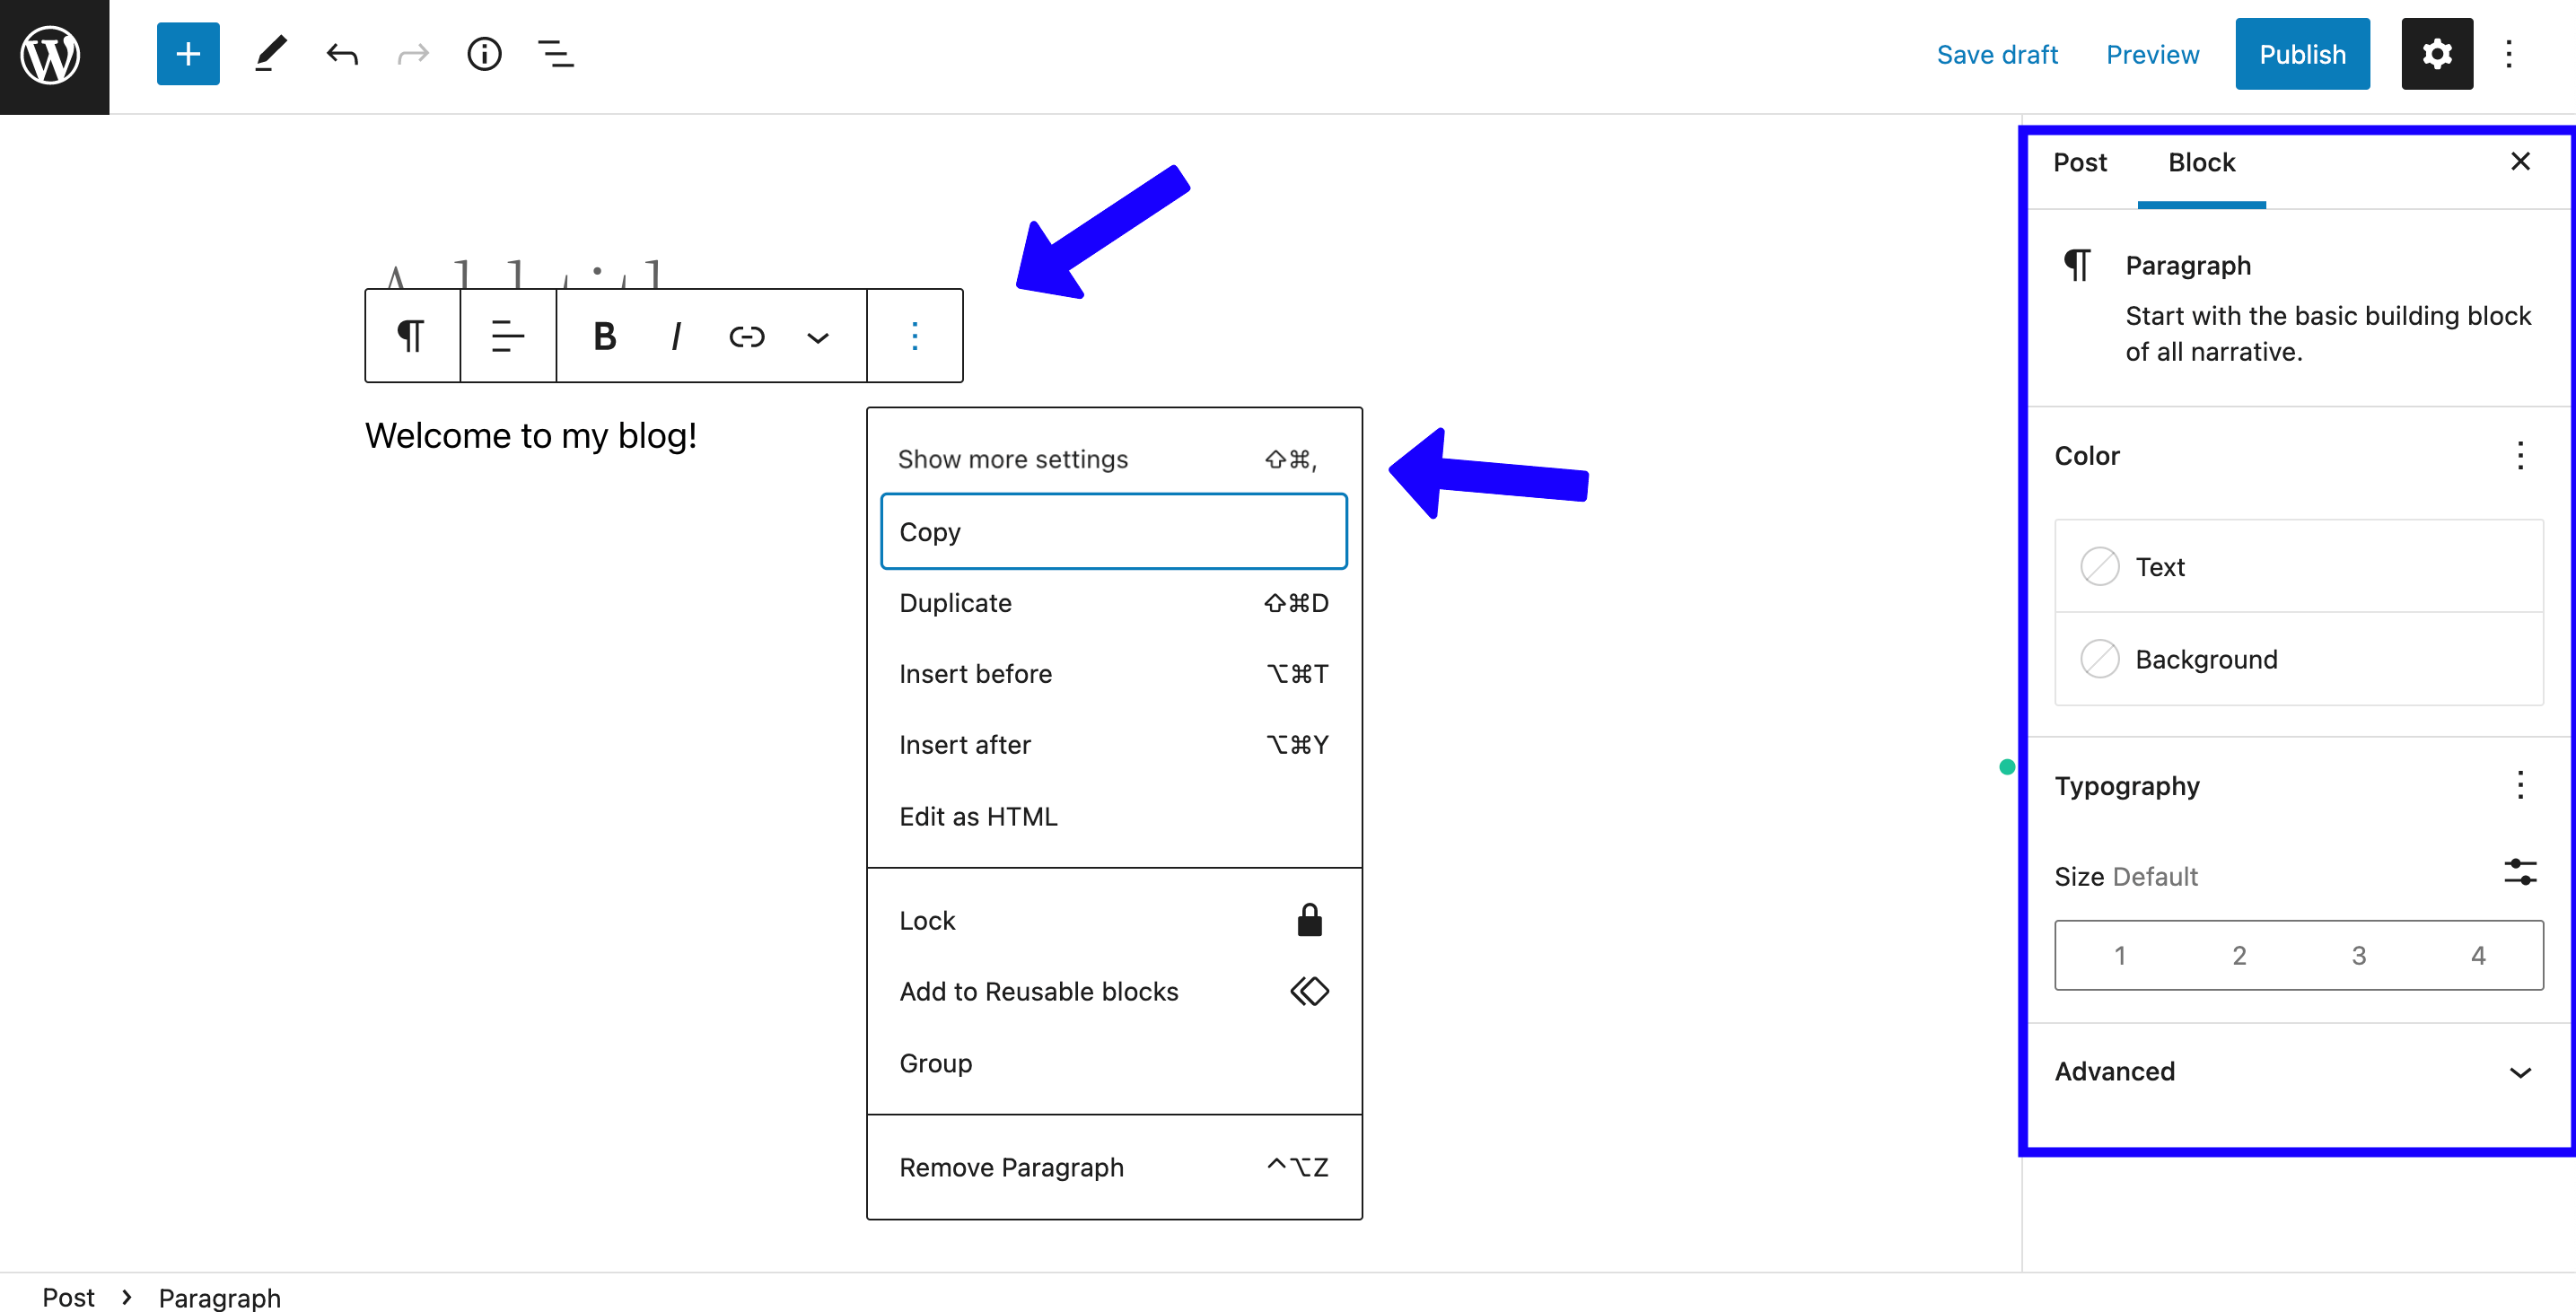
Controls the post’s status and visibility, permalink (the post’s URL slug — keep it short and readable, matching your permalink structure), categories, tags, featured image, and discussion settings.
Writing your first post, step by step
- Add the title. Don’t obsess — you can edit it later.
- Structure with headings. Break your content into sections with Heading blocks (H2 for main sections, H3 for subsections). This helps readers scan and helps search engines understand your article.
- Write in blocks. One idea per paragraph block. Add images, lists, and quotes where they genuinely help.
- Assign one category (the broad topic) and a few tags (specific keywords).
- Set a featured image — it appears on archive pages and in social shares.
- Preview, then Publish.
A few beginner tips
- Write your draft in a separate document first if you tend to second-guess yourself in the editor.
- Keep paragraphs short. Big walls of text get skimmed, not read.
- Use the Preview button before every publish — formatting surprises are common.
- Your first posts won’t be perfect. Publish anyway; you can update any post at any time, and WordPress keeps revisions so you can always revert.
That’s the whole workflow. If you’re setting up a brand-new site, our definitive guide to starting a WordPress blog covers everything that comes before and after this step.